
With WSL 2, a lot has changed. Most importantly, you can now (and in most cases should) develop fully in your Linux instance. In other words your project files should live in Linux, not in Windows. This is an important change to how things worked before, where you often may have just had your project files in Windows. As a further example of how you are now supposed to be fully into your Linux install, even Node.js should now be installed in Linux not in Windows.
Right away, just a note that this tutorial of course assumes you’ve already installed WSL on your Windows 10 machine, which we discussed in another blog post. Also, another note, this is not a fancy polished tutorial. We’re not going to have a bunch of screenshots, instead just info you need to get the job done. Lastly, but very importantly, this tutorial is for local dev only. There are a lot of things in here you'd never do with a live server, but that are absolutely a good idea for local development. With that out of the way, let’s go…
Wait, before we go any further this tutorial is based on you running Ubuntu 20.04.1 (or at least having PHP 7.4). If you aren't on the same version, then you may have to tweak some of the tutorial below, but it should be very similar.
STEP 1 – Initial prep work
You first need to make sure you're running WSL2. You can do that from PowerShell with this command: wsl -l -v.
Also, before we do anything else, we must run this command to make sure your current Linux distro is all up to date:
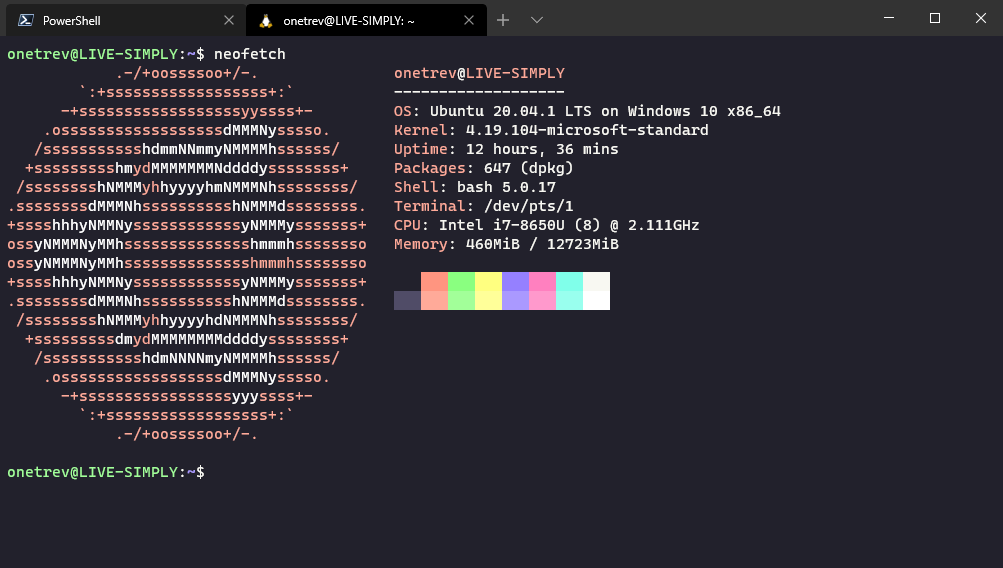
sudo apt update && sudo apt upgradeIf you haven't installed the new Windows Terminal app, get it right now! Also, I recommend trying out neofetch. It's really not necessary at all, but it's fun to try out. It's easy to setup, so no instructions needed. To get you interested, this how the two combined will look:
Now before we proceed, you should know you could just skip almost all of the step below and just do: sudo apt install lamp-server^ phpmyadmin. However really it’s not much more work to do this properly and have full control over everything. With that caveat out of the way, let’s get rolling…
Step 2 – Install Apache2
First run these commands, one at a time:
sudo apt install apache2
sudo service apache2 start
Enable the Apache modules you need, such as 'rewrite' and 'SSL', (note: one command at a time):
sudo a2enmod rewrite
sudo a2enmod ssl
sudo service apache2 restart
You'll probably also want to adjust your Apache setting for permissions to match you user name. In other words when you do a file list, this user name setting you enter in Apache will be the same as the owner of the files in your Linux file system. That way Apache has permission to modify you site's files and folders. If you don't do this, things like Grav and WP may not work correctly or work at all. So head to this file and make the following change:
sudo nano /etc/apache2/envvarsexport APACHE_RUN_USER=your_user
export APACHE_RUN_GROUP=your_userLastly, as usual, be sure to restart Apache once you're done editing the envvars file. Always restart after changes like this. Always. It'll save you tears / pain.
Step 3 – Install MySQL Server + PHP
We get started by installing MySQL like so:
sudo apt install mysql-serverNote: You will not be asked to create a password, but on a local install that's fine. And technically it's not insecure anyway as it means only those with sudo privileges can access the MySQL server.
Okay, now we need to start up the MySQL server like so:
sudo service mysql startOkay it's PHP time...
sudo apt install php libapache2-mod-php php-mysql php-mbstring php-zipCertain PHP extensions you've added such as mbstring need to be enabled. You can do that with this command:
sudo phpenmod mbstringNow we need to make changes to the default PHP settings, which are found in your php.ini file. Search and find these three items below and put in whatever value you want (if you want to change them at all):
sudo nano /etc/php/7.4/apache2/php.ini- max_execution_time = 120
- post_max_size = 64M
- upload_max_filesize = 64M
Step 4 – Database Stuff (users and GUI interface)
Depending on your needs and preferences, you may not need this. But for those who do, it's very important, so here we go..... I think phpMyAdmin is pretty heavy and unnecessary for what we're doing. Adminer can do it all and do it with only ONE file.
sudo apt install adminerOkay, we're almost there. There's one gotcha for all those that changed Apache's user / group setting above. Adminer accesses and writes to your PHP sessions folder, so you need to give match the folder permissions of that folder to your user (the user you set in Apache). Easily done...
cd /var/lib/php
sudo chown -R your_user:your_user sessions
Good news, all that is left is we just need to activate Adminer, restart Apache again of course, and then view it. Start with these two commands:
sudo a2enconf adminer.conf
sudo service apache2 restart
To make sure everything is working go to your default server name forward slash Adminer, like so: http://localhost/adminer/
But we need a username to login with now! So let's go ahead and do that. Remember this is all for local dev only so the usual security concerns regarding creating a super user don't really apply. Never do this on a live site. Ever. So fire up MySQL like so: sudo mysql. Then enter the following commands:
CREATE USER 'user_name'@'localhost' IDENTIFIED BY 'your_password';
GRANT ALL PRIVILEGES ON * . * TO 'user_name'@'localhost';
You've now created a monster, err, I mean super user. You can now use this user to login to Adminer and do whatever you want in there, create, destroy, export databases, or whatever makes you happy.
Step 5 – Virtual Hosts and SSL
First create this file for whatever your sitename is, replacing "mysite" with whatever you want for your project:
sudo nano /etc/apache2/sites-available/mysite.localhost.confNow paste this in and edit as need be. Note: this is for an SSL site, if you aren’t using SSL on a particular local site, you can take the three SSL lines out. Also, one item to note is the <Directory> stuff. I needed to do this as I wanted my sites in my user folder, not under the default /var/html/ folder. Technically you could update your Apache settings to enable this custom directory for all VirtualHosts but I like leaving it here so it works even if you update / overwrite your Apache. Also, I put the same <Directory> stuff in my 000-default.conf file too. I'm not sure if it's needed there. To be honest, I had issues with this stage so once I got to the point things were working I just left everything as it was! I'm sure we've all been there.
<VirtualHost *:80>
   ServerName mysite.localhost
   Redirect permanent / https://mysite.localhost/
</VirtualHost>

<VirtualHost _default_:443>
    ServerName mysite.localhost
    DocumentRoot /home/onetrev/sites/mysite

    SSLEngine on
    SSLCertificateFile "/mnt/c/Users/onetr/.local-ssl/mysite.localhost.pem"
    SSLCertificateKeyFile "/mnt/c/Users/onetr/.local-ssl/mysite.localhost-key.pem"

    <Directory /home/onetrev/sites/>
        Options Indexes FollowSymLinks
        AllowOverride All
        Require all granted
    </Directory>

    ErrorLog ${APACHE_LOG_DIR}/error.log
    CustomLog ${APACHE_LOG_DIR}/access.log combined
</VirtualHost>
Then you just need to enable your site by the filename you created above, but without the .conf extension, and then restart Apache. So for example you'd enable the above site with:
sudo a2ensite mysite.localhostIt's important to restart not just reload after creating a new virtual host, otherwise it won't take effect. You can change settings with just a reload once the site is running. However, make sure you run the reload with sudo privileges. It won't error out if you don't, but no changes will be reloaded. It is weird Apache doesn't warn you. Unfortunately, I found this out the hard way, after much lost time.
sudo service apache2 restartA handy feature is you can now disable or enable your virtual host sites any time. It's very easy. Note, you do not included .conf part of the filename, so something like “mysite.localhost” is all you need to use. You can also use wildcards, if you named sites in a uniform way, in order to enable or disable a whole bunch at once. The two commands are either:
sudo a2dissite mysite.localhost
sudo a2ensite mysite.localhost
All done! Happy WSL2-ing and you can now enjoy being a first class citizen of Linux development -- but on Windows. Finally. The future is here, now.
Before you go... You now have a local dev setup, but you probably don't want to be doing stuff like the above on your live / production server. For that I highly recommend Cleavr. It makes firing up a new site a breeze and is well worth it to ensure worry free server provisioning for your next project.